本博客使用 Hugo 搭建,这里记录一下搭建过程。
Hugo is one of the most popular open-source static site generators. With its amazing speed and flexibility, Hugo makes building websites fun again.
一、Hugo 基本使用
i. 命令使用
# Hugo 安装
brew install hugo

# 新建博客
hugo new site hugo-blog

# 添加主题(修改 config.yml 配置文件中 `theme: PaperMod`)
git submodule add https://github.com/oudushu/hugo-PaperMod.git themes/PaperMod

# 新建博文
hugo new posts/web-hugo-blog.md

# 网站预览(http://localhost:1313/)
hugo server

# 生成静态文件(public 文件夹)
hugo
ii. 图片
图片资源存放在 static 文件夹中,我习惯每篇文章都新建一个文件夹存放图片,如:hugo-blog/static/image/web-hugo-blog/image-20220316160415439.png
文章中引用图片:
二、服务端配置
云服务商:腾讯云
操作系统:Ubuntu Server 18.04.1 LTS 64bit
i. Nginx 安装
sudo apt-get install nginx
ii. HTTPS 配置
首先需要申请 SSL 证书,这里不详述。
把 SSL 证书放到 /etc/nginx/cert 路径下
# 修改配置
sudo vim /etc/nginx/sites-available/default

# 添加以下内容
server {
	# SSL configuration
	listen 443 ssl default_server;
	listen [::]:443 ssl default_server;
	ssl_certificate cert/c.pem;
	ssl_certificate_key cert/c.key;

	ssl_session_timeout 24h;
	ssl_ciphers ECDHE-RSA-AES128-GCM-SHA256:ECDHE:ECDH:AES:HIGH:!NULL:!aNULL:!MD5:!ADH:!RC4;
	ssl_protocols TLSv1 TLSv1.1 TLSv1.2;
	ssl_prefer_server_ciphers on;

	root /var/www/html;

	# Add index.php to the list if you are using PHP
	index index.html index.htm index.nginx-debian.html;

	server_name _;

	location / {
		# First attempt to serve request as file, then
		# as directory, then fall back to displaying a 404.
		try_files $uri $uri/ =404;
	}
}

# 重启 Nginx 服务
sudo service nginx restart
iii. HTTP 转发到 HTTPS
# 修改配置
sudo vim /etc/nginx/sites-available/default

# 添加以下内容
server {
	listen 80;
	server_name _;
	return 301 https://$host$request_uri;
}

# 重启 Nginx 服务
sudo service nginx restart
iv. 传输 Hugo 静态文件
把 Hugo 生成的静态文件 public 文件夹下所有文件传输到服务端 /var/www/html 路径下。
这时候在浏览器访问服务器的地址,即可看到博客内容了。
v. 一键发布脚本
每次写完文章都需要重新部署静态文件,稍显繁琐,这里写了两个脚本,可以减少每次部署静态文件的工作。
客户端:
#!/bin/bash

if [ ! -n "$1" ] ;then
    echo "Aborting commit due to empty commit message."
else
    git stash
    git pull --rebase
    git stash pop
    hugo -D
    git add .
    git commit -m "$*"
    git push
fi
服务端:
#!/bin/bash

GIT_STR=$(git pull)
RES_STR="Already up to date."

if [ "$GIT_STR" = "$RES_STR" ];then
    echo "$RES_STR"
else
    echo "Updating to nginx."
    sudo rm -rf /var/www/html/
    sudo cp -R -a public/ /var/www/html/
fi
三、评论插件
评论模块是博客的重要功能,可以方便跟读者的沟通,我这里使用 utterances 插件作为评论模块。
utterances 是一款基于 GitHub Issues 的开源评论插件,配置使用非常方便。
A lightweight comments widget built on GitHub issues. Use GitHub issues for blog comments, wiki pages and more!
i. 新建 GitHub Public 仓库
仓库必须设置为 Public,否则插件无法访问。
iii. 安装 GitHub App
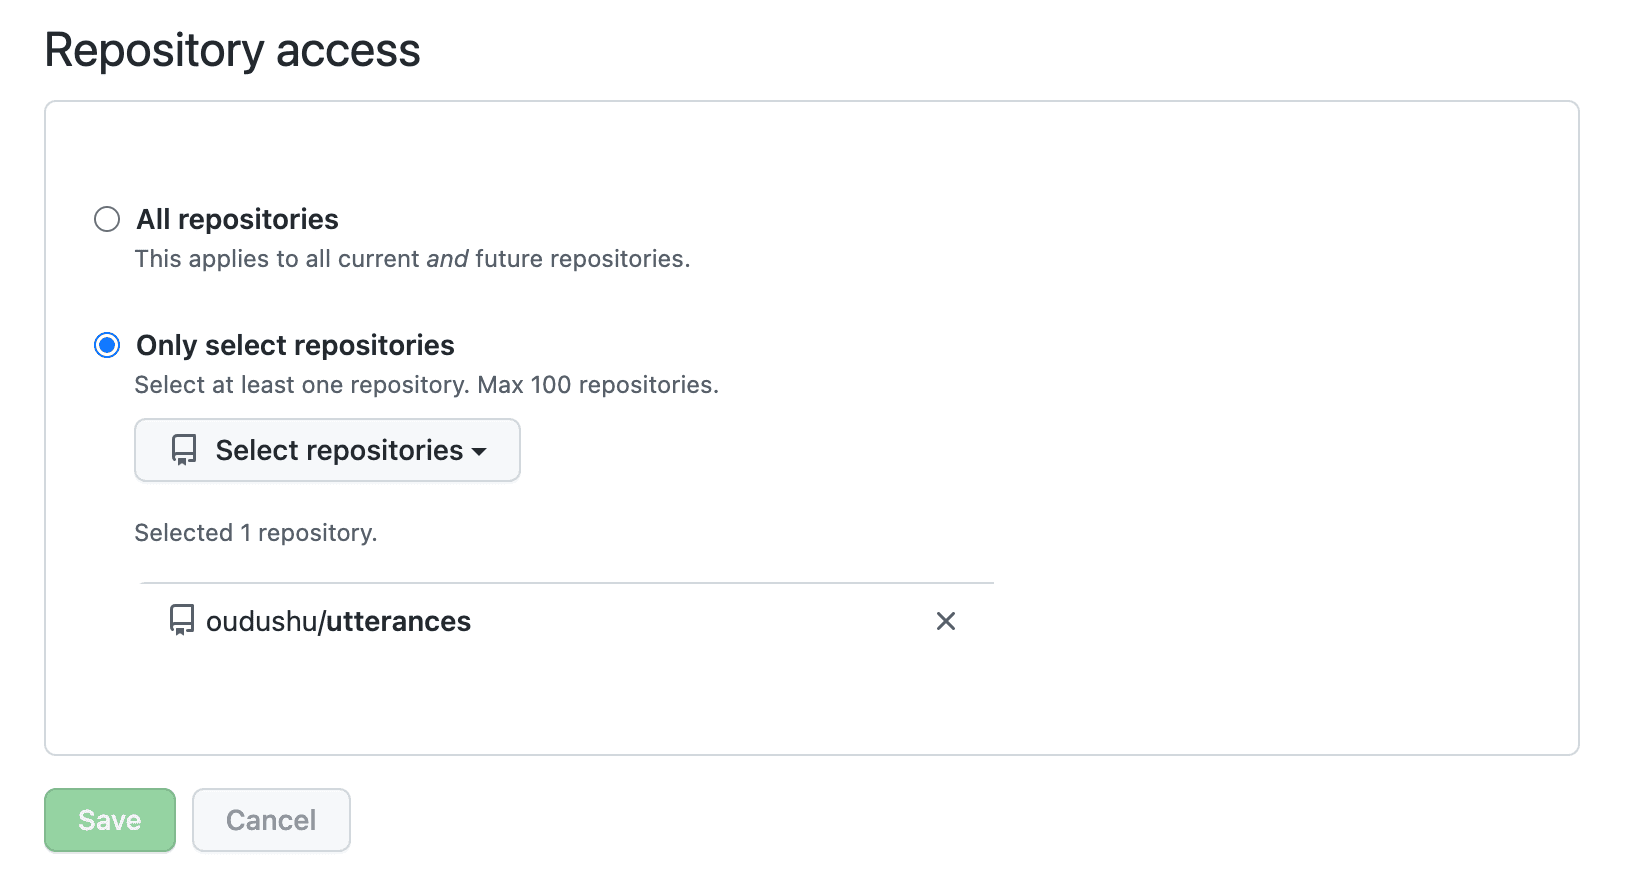
打开 utterances - GitHub App 安装并配置,选择刚刚新建的 Public 仓库。

iii. Hugo 主题配置
这里以 PaperMod 主题为例,修改 themes/PaperMod/layouts/partials/post_nav_links.html 模版:
diff --git a/layouts/partials/post_nav_links.html b/layouts/partials/post_nav_links.html
index b988641b..7352719d 100644
--- a/layouts/partials/post_nav_links.html
+++ b/layouts/partials/post_nav_links.html
@@ -16,4 +16,12 @@
   </a>
   {{- end }}
 </nav>
+
+<script src="https://utteranc.es/client.js"
+        repo="oudushu/utterances"
+        issue-term="title"
+        theme="preferred-color-scheme"
+        crossorigin="anonymous"
+        async>
+</script>
 {{- end }}
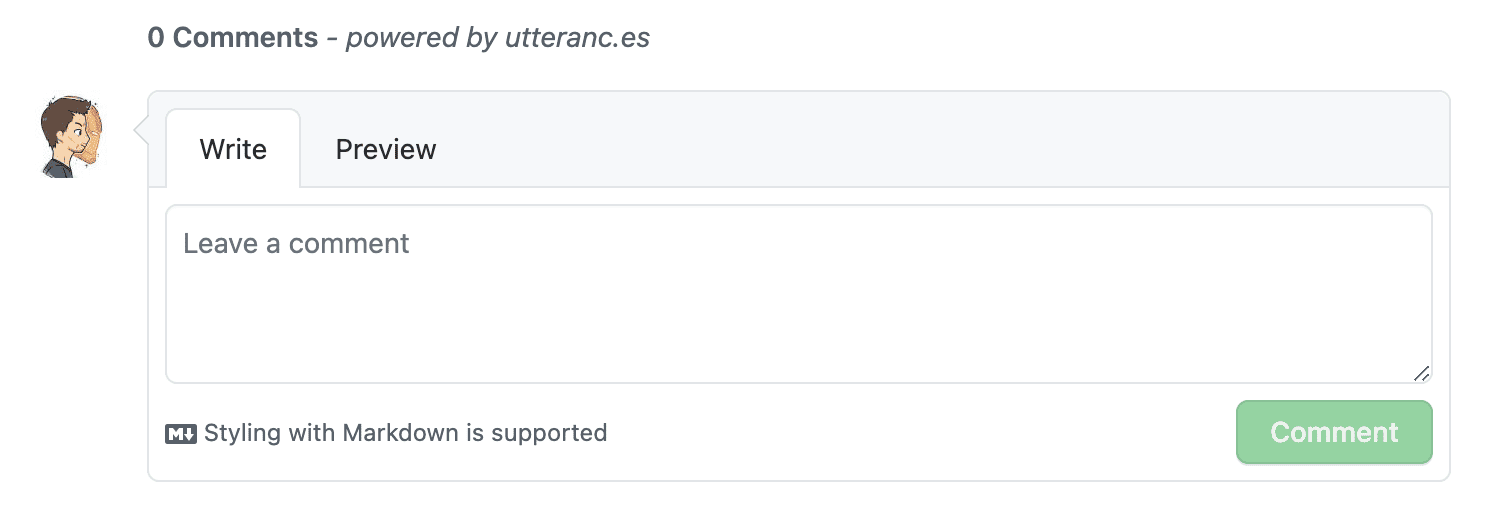
iv. 效果

四、备案
众所周知的原因,国内的网站都需要到工信部进行备案,各大云服务平台都有相关备案服务(腾讯云备案),实际操作非常简单,只需要按照提示填写资料即可。一切顺利的话一周左右即可走完流程。
我在备案过程中被打回了一次,原因是网站底部没有注明备案号。只需要在 Hugo 的主题模版中修改相关配置即可。
同样以 PaperMod 主题为例,修改 themes/PaperMod/layouts/partials/footer.html 模版:
diff --git a/layouts/partials/footer.html b/layouts/partials/footer.html
index 8dee3280..28185b5d 100644
--- a/layouts/partials/footer.html
+++ b/layouts/partials/footer.html
@@ -6,9 +6,8 @@
<span>© {{ now.Year }} <a href="{{ "" | absLangURL }}">{{ .Site.Title }}</a></span>
{{- end }}
<span>
- Powered by
- <a href="https://gohugo.io/" rel="noopener noreferrer" target="_blank">Hugo</a> &
- <a href="https://git.io/hugopapermod" rel="noopener" target="_blank">PaperMod</a>
+ & <a href="https://beian.miit.gov.cn" rel="noopener" target="_blank">粤ICP备2021054614号</a>
</span>
</footer>
{{- end }}